
Let’s be honest: When you’ve got kids, getting meals on the table day after day is a struggle.
(Understatement of the century, right?)
In fact, it can feel downright impossible when it’s 5:00pm, everyone is starving, and you’re so exhausted that you can barely string together a coherent sentence…let alone scour the recesses of your brain to come up with something you can throw together quickly—and that your kids will eat.
And even if you know what you want to make, you can’t find the recipe among the random screenshots on your phone, the printed out recipes shoved in a drawer, and the collection of recipe websites you’ve visited.
While there’s no magic bullet that can suddenly make meals endlessly easy (except heaps and heaps of money), if you struggle to come up with meal ideas or your recipe collection is in complete chaos…
…organizing your recipes into a recipe binder can be a game changer. Because not only does it make it easy to find your recipes, it makes planning meals so much easier. And best of all: you can create your recipe binder super quickly.
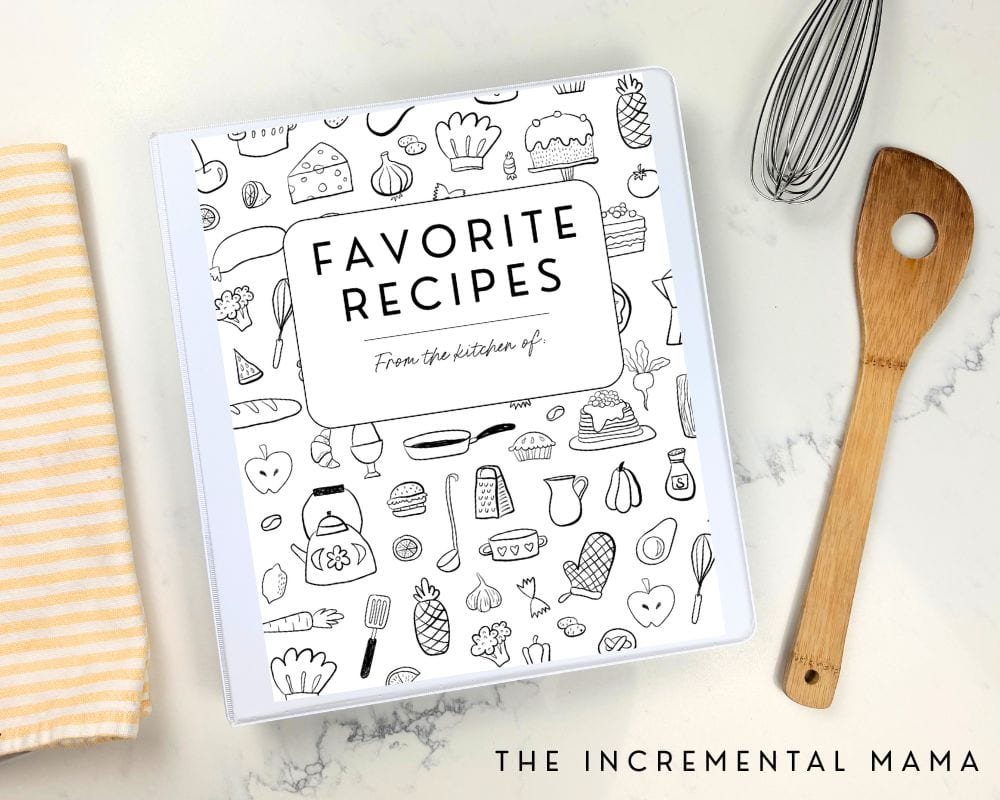
As someone who needs physical copies of recipes in front of me (I hate having to keep looking at my phone), I swear by my recipe binder. Not only does it make it easy to find all the recipes I love, but it makes it so easy to come up with something to make for dinner when my brain is not working.
(Which is often, let me tell ya)
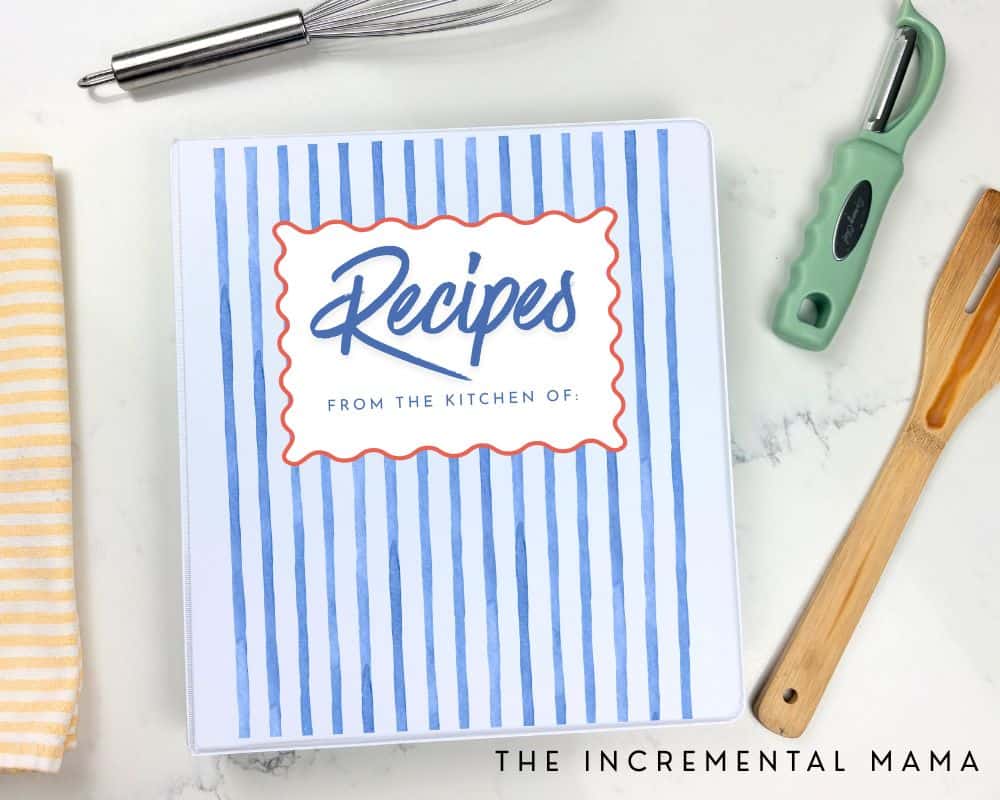
I’m going to walk through the benefits of a Recipe Binder and then detail how to quickly put your binder toegther. Plus, I’ve got 3 different styles of free printable Recipe Binder Covers you can download and print to easily make your binders super cute.
The Benefits of a Recipe Binder
1. Organizes All Your Recipes in One Place
With so many of us getting recipes from social media and all sorts of websites, it’s easy for our recipe collections to be in complete chaos. You’ve got cookbooks (for that ONE recipe you use out of it), Pinterest boards overflowing with recipe pins, screenshots on your phone, random recipe print outs, and scraps of paper with old family recipes.
A recipe binder gets them all in one place and organized in a way that works for you.
2. Makes Meal Planning Waaaay Easier
If you’ve struggled to get into meal planning, this may be the missing piece of the puzzle of you. Personally, meal planning would be so much harder without my recipe binder. Because the majority of the time when I sit down to plan meals (or do most anything, to be honest) my brain is on like 35% power. But all I’ve got to do is flip through my recipe binder and planning meals is a snap.
Whether you’re trying to figure out what to make right now or you’re meal planning for the next week, instead of scouring your exhausted brain for ideas, you can just flip through the recipes in your binder and find the tried and true recipes your family likes.
Looking for more on meal planning? Check out How to Get Started with Meal Planning and grab some of the Over 100 Free Meal Planning Printables I’ve created.
3. You Can Curate the Binder to Work for YOU
Not can you organize your recipes into the categories that work for you, but you can keep it curated to just the recipes you’re currently using. Add new recipes you like and remove the old ones you no longer use.
4. Page protectors keep your recipes from getting gross.
I personally love having all my recipes in page protectors because when food gets on the page—which will absolutely happen—I can simply wipe it off the page protector!
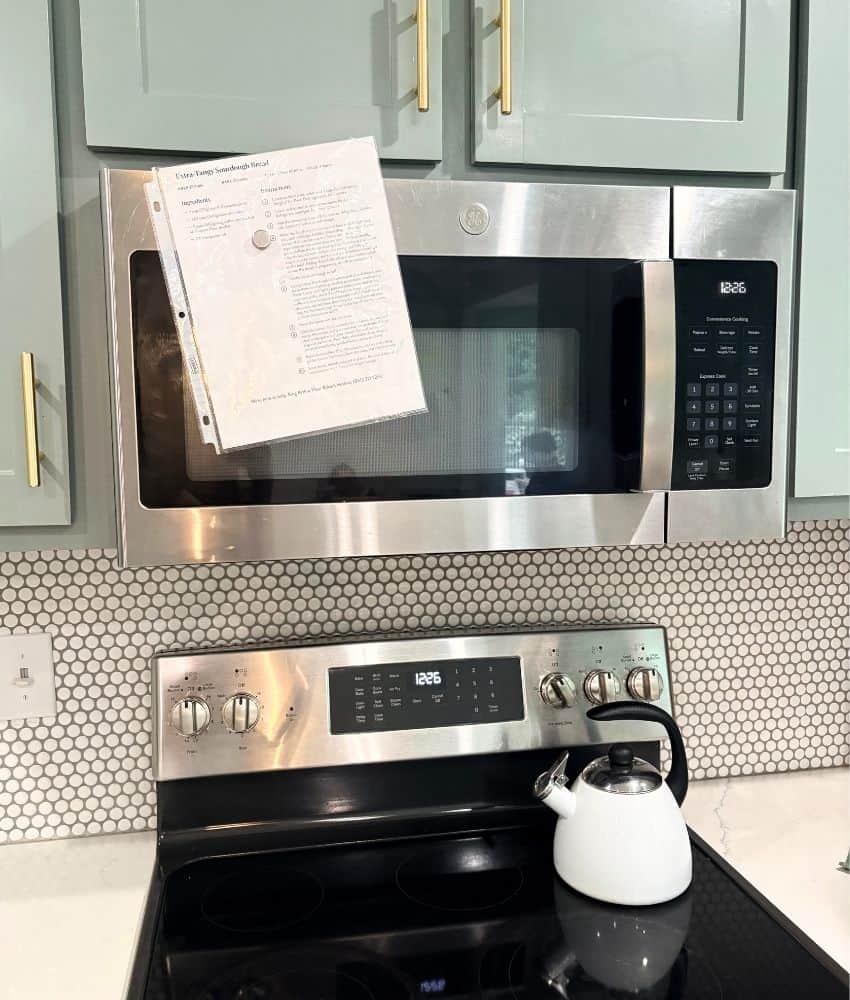
Plus, if you have anything metal/magnetic above your stove, you can use a magnet to put your recipe right where it’s easy to see while you cook. It’s so insanely convenient.
This is my set up:
How to Make Your Recipe Binder
The most important thing to remember when putting together your binder is to MAKE IT AS EASY AS POSSIBLE.
The faster you get your recipes organized in your binder, the more quickly it’ll make your life easier. It doesn’t have to look cute or fancy to be super functional.
Step #1: Gather all Your Recipes
Whether they’re from recipe websites, cookbooks, screenshots, or family hand-me-downs, gather all your recipes together into one place.
Don’t worry about making it perfect—just start by collecting them all in one spot.
Personally, I photocopy any cookbook recipe I frequently use and print out any online recipes I use to go into the binder.
Need a recipe card template for some of your recipes? Check out these US Letter sized blank recipe template printables. Click the image of the recipe printable you like and it will automatically download!
Step #2: Get Your Supplies
Outside of the recipes themselves, you only need THREE things to put together your binder:
(1) A 3-ring binder
Pick a size that works for you. I personally have a massive one that stores most of my recipes, and then a separate 1-inch binder just for breads because I’m a bit obsessed wth sourdough.
(2) Extra-Wide Tabbed Binder dividers
As you’ll put your recipes in page protectors, you’ll want the extra-wide dividers to accommodate them so you can still see the tabs. You may also consider getting ones with pockets so you can store random recipes that are too small for the page protectors.
Some extra-wide binder divider options:
(3) Page Protectors
You’ll put all your recipes in a page protector. Make sure you get enough for all the recipes you have!
Step #3: Sort Your Recipe Categories/File Tabs
The beauty of making your own recipe binder is that you can design it to exactly what you need it to be. Determine which categories make sense for you.
You’ve got the standard recipe categories:
- Entrees
- Soups & Salads
- Appetizers & Snacks
- Breakfast & Brunch
- Side Dishes
- Desserts
But you may consider doing something different:
- Crock Pot / Instant Pot – if you use these a lot in cooking
- Quick & Easy Dinners – Need quick dinners on the fly? You may consider a section devoted to recipes that you can make in under 30 minutes.
- Meal Prep – If you meal prep (or want to make meal prepping easier) you can keep a section devoted just to meal prep recipes.
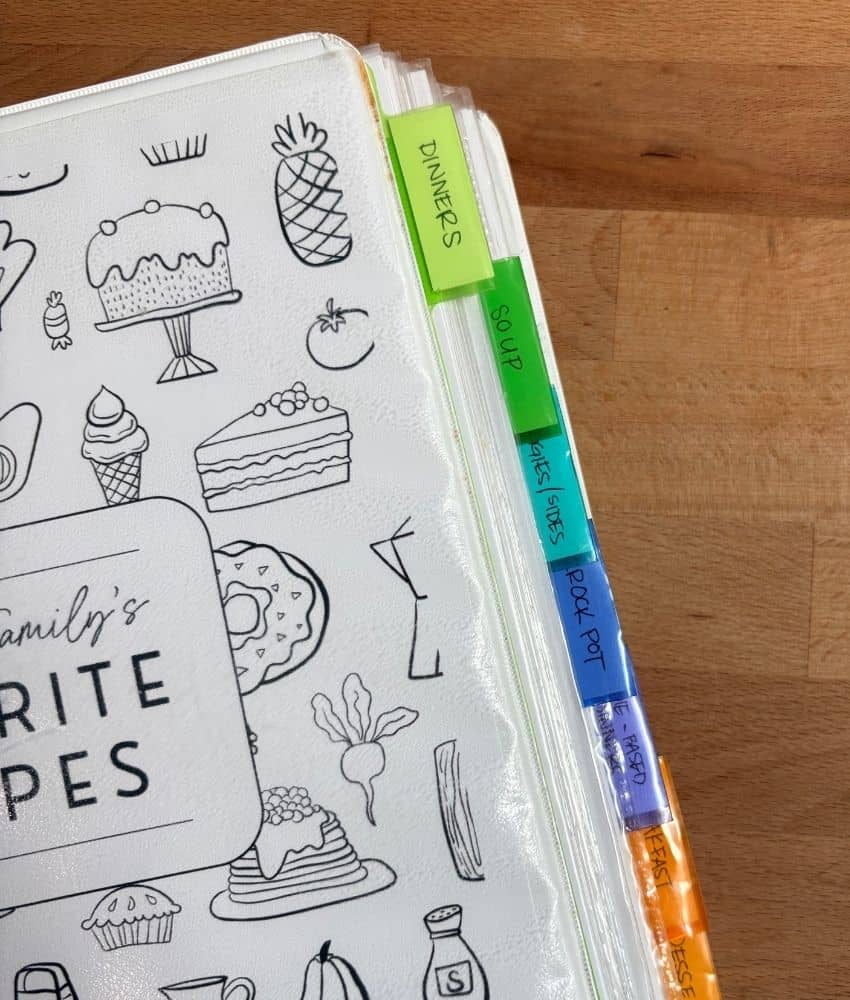
Do what works for you! Here’s what mine looks like:
Step #4: Print a Cute Recipe Binder Cover Printable (OPTIONAL)
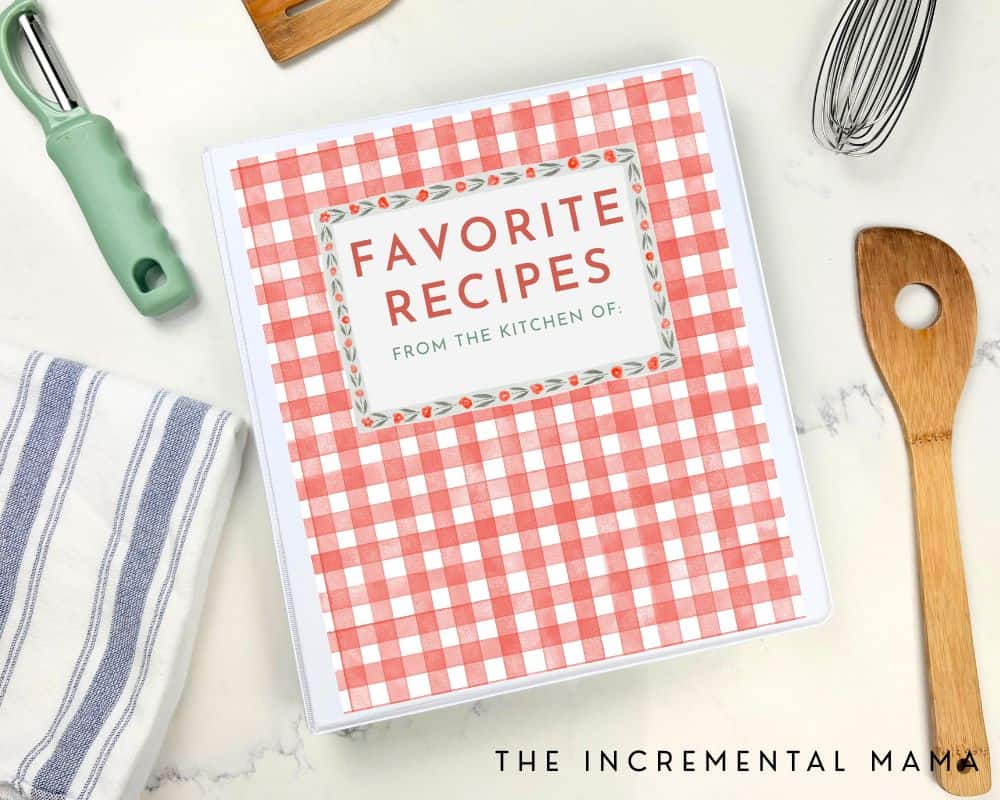
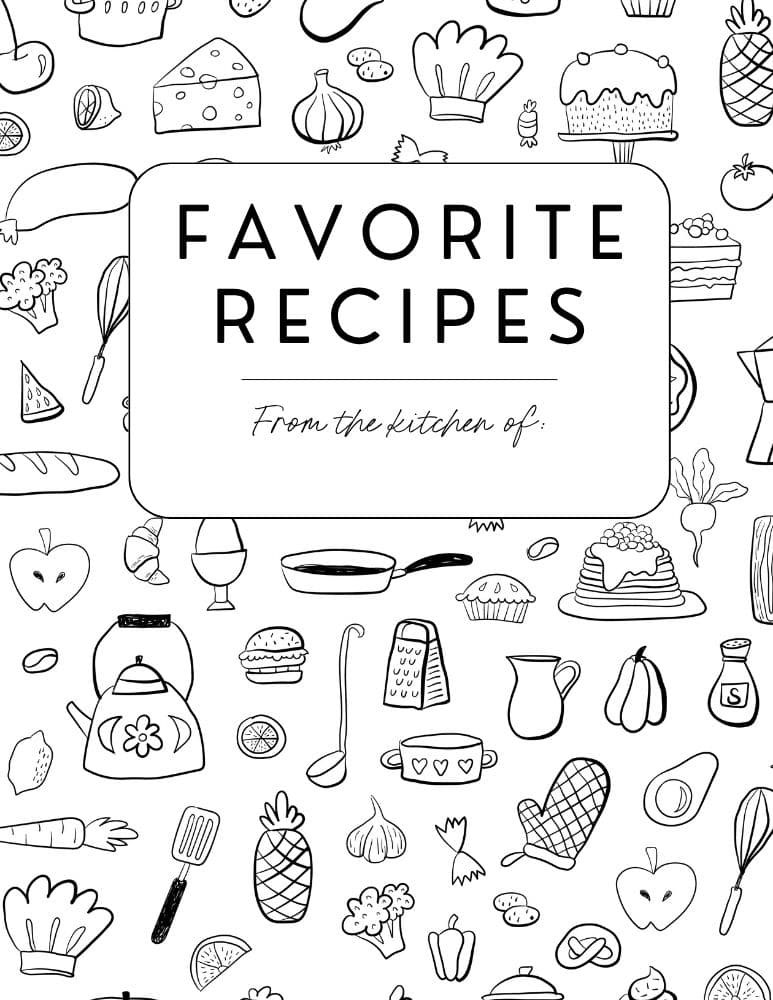
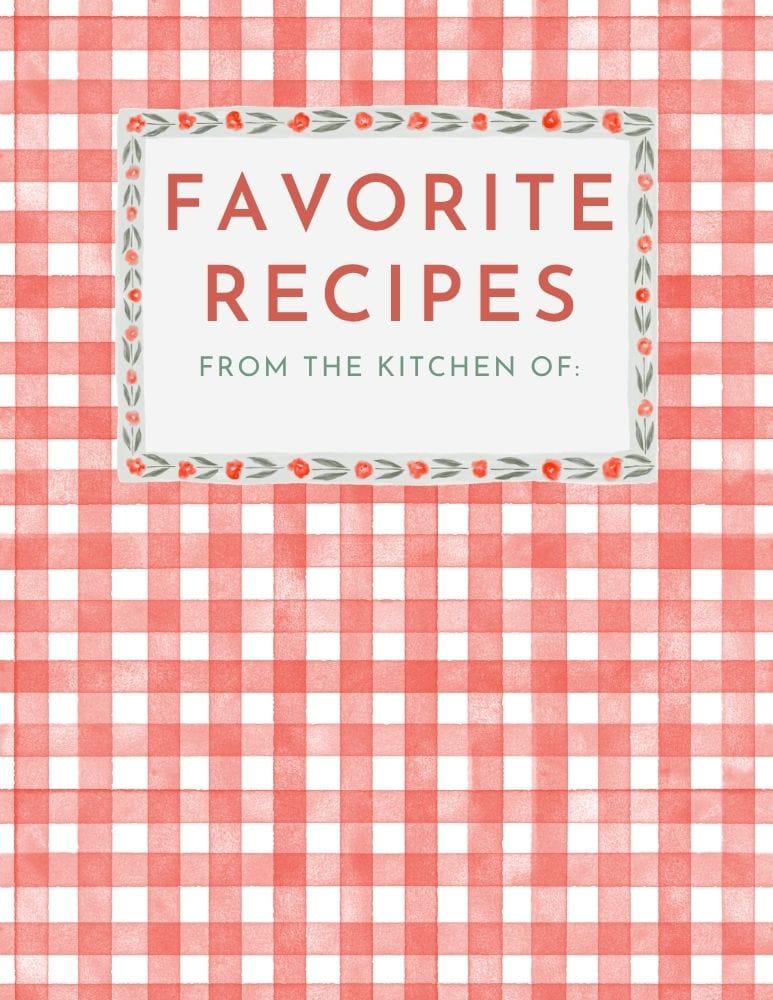
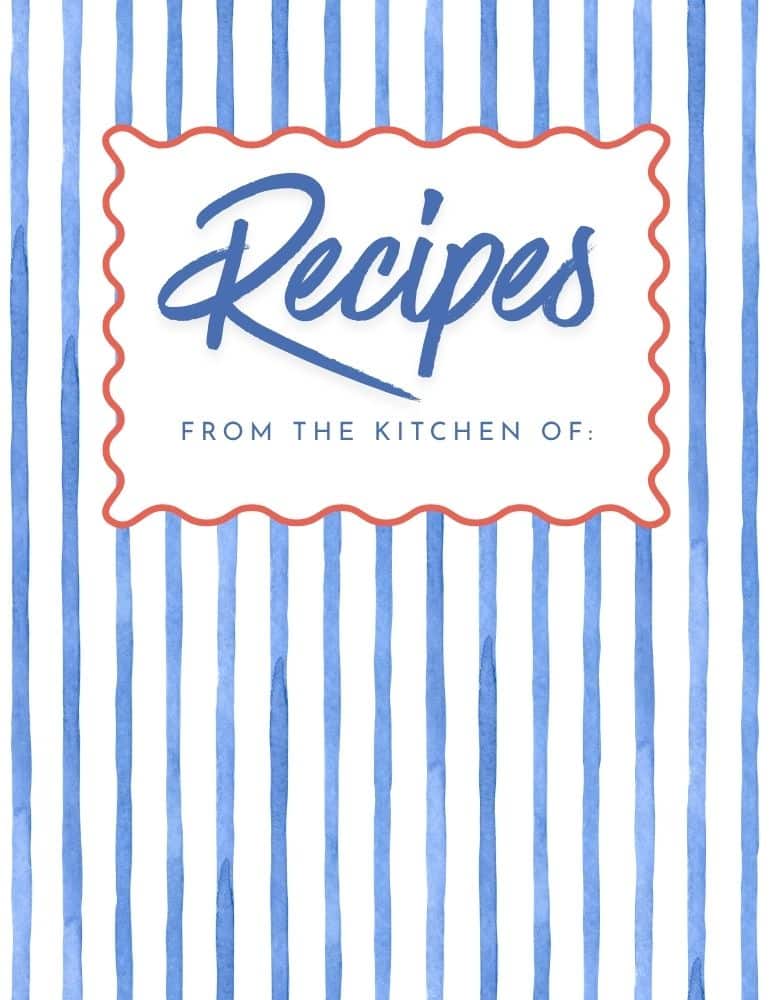
While you don’t need a recipe binder cover, I’ve created 3 fun recipe binder cover PDFs you can download and print. It’s just a super easy way to make your recipe binder cute.
Each download includes the binder cover in US letter size and also includes the corresponding binder spine labels for 1 inch, 2 inch, and 3 inch binders. Just click the link next to the cover you want and the PDF will download instantly.
Step #5: Assemble Your Binder
Now for the really satisfying part where everything comes together. Throw on a movie, a podcast, or audiobook and then start putting your binder together!
Label your divider tabs for the recipe categories you want, put recipes in the page protectors, and then assemble your binder, filing the recipes in the appropriate category.
If you’ve got some small recipe cards or random scraps of paper with recipes on them, stick them in the divider pockets.
Step #6: Maintain Your Binder
Now you’ve got all your recipes in one convenient place! Maintain your binder by making sure all new recipes get added and anything you remove gets put back.
You may want to keep some empty page protectors at the back so you can add new recipes easily.
Recipe Binder: The Missing Step of Meal Planning
Whether your recipe collection is a mess or you struggle to meal plan, organizing your recipes into a binder just might be the missing link to make meal time a whole lot easier. If this sounds like something that would help you, order the supplies right now. It’ll take just a few minutes. And then once they come, throw on a movie and put your binder together.
You’ve got this!
More Resources You make Like

Leave a Reply